Techniques for growing oat flowers with branches
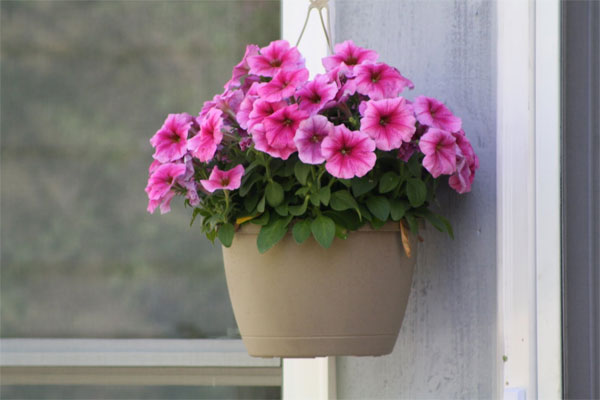
The propagation of the oat flower with branches is one of the very simple flower growing techniques but still brings beautiful flower pots and powerful vitality.
>>> Techniques for growing tulips in the home
>>> Techniques for growing stone lotus in pots
>>> Carnation planting techniques with branches
Vermicelli is a wall flower that is very popular because of its beautiful colors and easy care. Propagation by branches is one of the two techniques of cultivating oat flower, this method is very simple and saves time.
The cuttings method has many advantages such as maintaining the genetic characteristics of mother plants, fast propagation time and can multiply new varieties from a limited source of original materials, however, techniques for growing flowers This also requires the necessary equipment to be able to control the temperature, humidity and light conditions in the house, and have appropriate stimulants to ensure root cuttings and grow.
Cuttings are one of the two techniques of cultivating oatmeal flowers.(Illustration)
Supplies of flower petals
Planters need to prepare good quality soil, pots with drainage holes, digging tools to check seeds or hand-grip, sharpen, 1 flower pot.
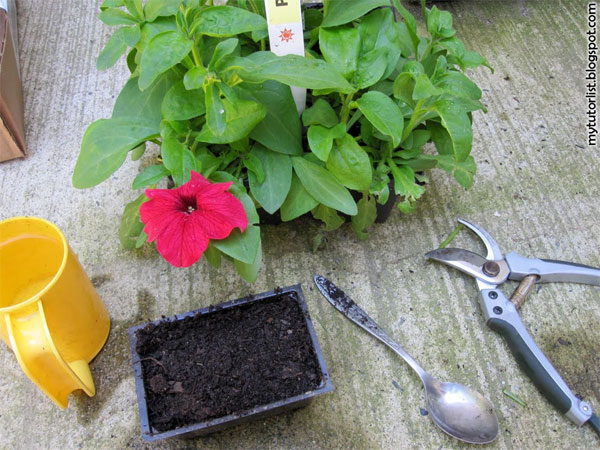
The necessary tools for cuttings.(PhotoMytutorlist)
Techniques for growing oat flowers with branches
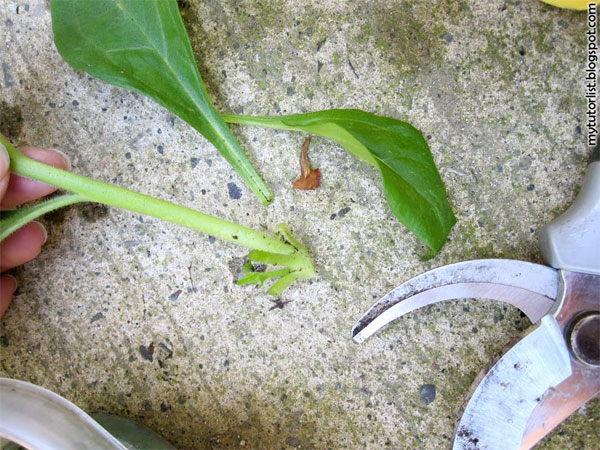
Cut a tip of a bird's nest Note the cut under the leaf and ensure that at least 3 leaves are left on the tip.
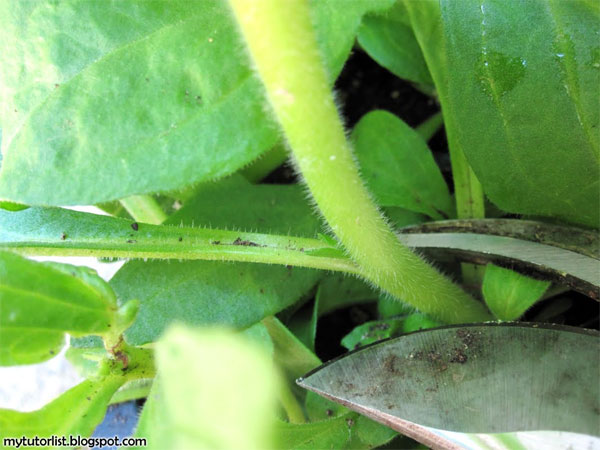
Step 1 - Cut the tops.(PhotoMytutorlist)
Keep the tops freshly cut by plugging them into the water shift while doing another operation.
Step 2 - Plug the tops into the water.(Mytutorlist photo)
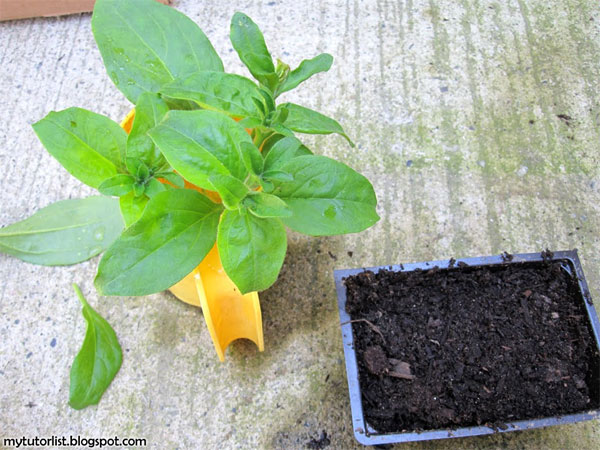
Trim the leaves near the cut. Remove all flowers if you want these tops to concentrate energy to develop the roots first.
Step 3 - Pruning leaves.(My Photo Tutorlist)
Fill the basin with soil, then press down on the soil lightly, so that the soil is covered.

Step 4 - Pour soil into pots.(Mytutorlist photo)
Use a particle inspector to create a few holes in the soil in the pot.
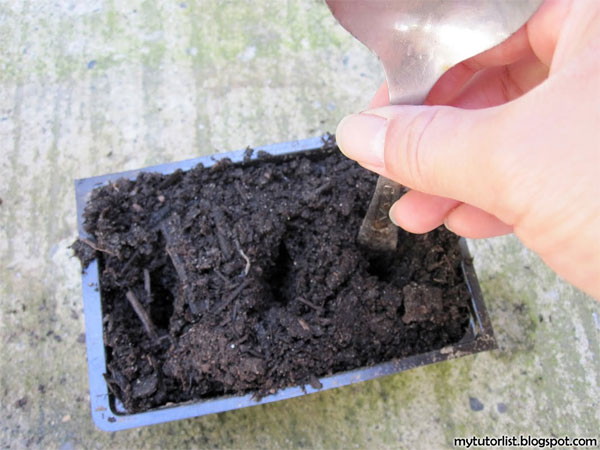
Step 5 - Create holes on the ground.(Mytutorlist photo)
Give each petal to each hole.
Step 6 - Put the bird's nest in the soil.(Mytutorlist photo)
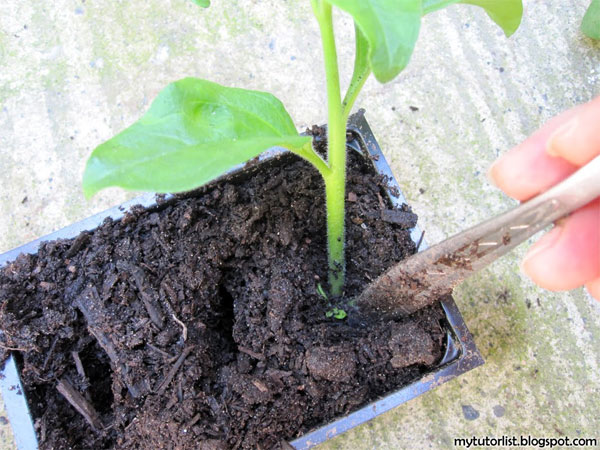
Take the particle inspector to push the soil into the flower so that the holes are filled.
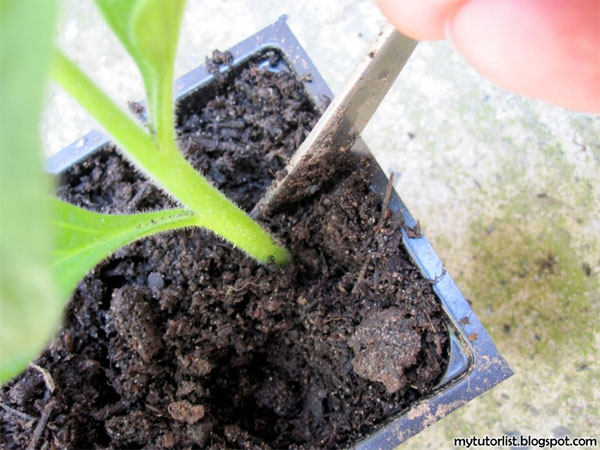
Step 7 - Fill the soil.(Mytutorlist photo)
Water the soil and flowers. This helps the soil compress evenly around the flower.
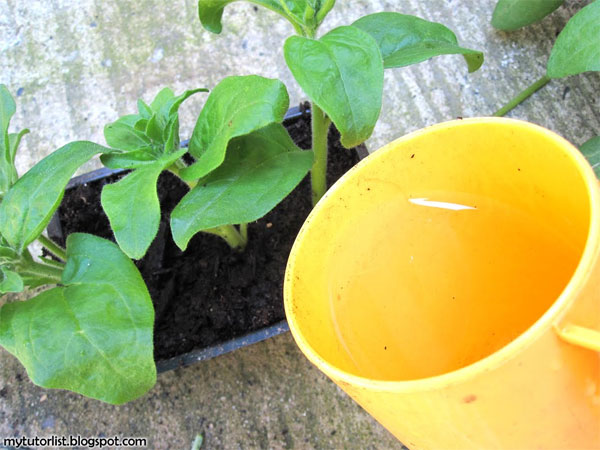
Step 8 - Watering with soil.(Mytutorlist photo)
How to take care of Da Nang flower
Place the tops of flowers in a well-ventilated and covered area. The location is well ventilated and shady. Do not place flower tops directly in sunlight or under very hot and dry conditions (Can use a roof if necessary).
Flower heads have no roots, so it is very susceptible to dehydration. Need to water regularly, soak the flower tops and soil daily. On hot days, need to water in the morning and water again in the evening. On a cool day, just water in the evening.
The tops of flowers will be softened, withered a little, but they will never fall. If they break down, it may be due to not watering enough or the location is too hot.
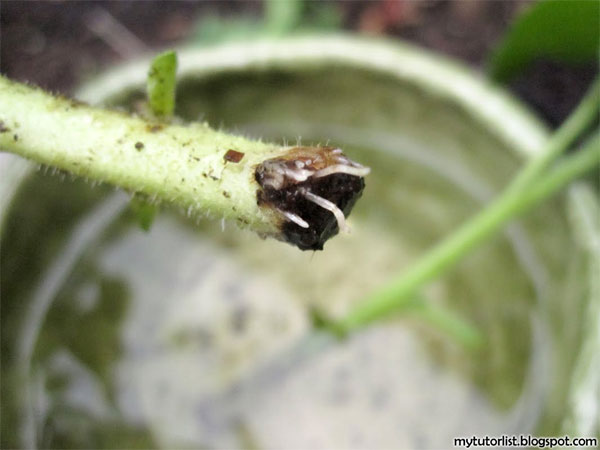
Flower stems are rooted, meaning flower growers have followed the technical process of growing oat flower with branches.(Mytutorlist photo)
About 2-3 weeks later, the flower heads start to freshen again. This is a sign that the roots have begun to grow and the tops of the flowers may start sucking water from the soil. Gently lift one end to check. Dip into the water to run out of soil and check how the roots have grown. Then gently cultivate them again in the soil and water soaked to ensure that the soil encapsulates around the flower.
In the absence of roots, gently insert the flower back into the soil and wait until the next week. As long as the flower heads are not dead, it is still capable of rooting. Some tops will need more time to root than the other tops.
- Carnation cultivation techniques with branches
- How to grow shallow lotus flowers to chase mosquitoes in the rainy season
- Techniques for growing flowers in the garden
- How to grow and care vy wing flowers
- Techniques to plant violet blooming flowers right on Tet occasion are just a few simple steps
- Planting the hyacinth flower to celebrate the New Year of the Goat
- Techniques for growing and caring rhododendron flowers in Tet season
- Techniques for growing lavender
- How to grow and care always good quỳnh flowers
- Techniques for growing black roses
- Techniques for growing butterfly wings in the garden
- Technique of bending bonsai to create art
 'Barefoot engineer' invents a pipeless pump
 Process of handling dead pigs due to disease
 Radiometer
 Warp Engine: Technology brings us closer to the speed of light